

Before you start
You need:- An account you can sign in to.
- Full access to the selected team. If you belong to several teams, switch to a writable team before choosing a product. Read-only members cannot create a project.
- A team with a funded balance, since the deploy at the end is blocked on an empty balance. See Manage your team and balance.
Step 1 — Say what you need done
Sign in. The home screen asks What do you need done? Click Data collection if you want data that does not exist yet — video, audio, images, in-the-field capture. Click Data labeling if you already have data and need it annotated, ranked, transcribed, or moderated.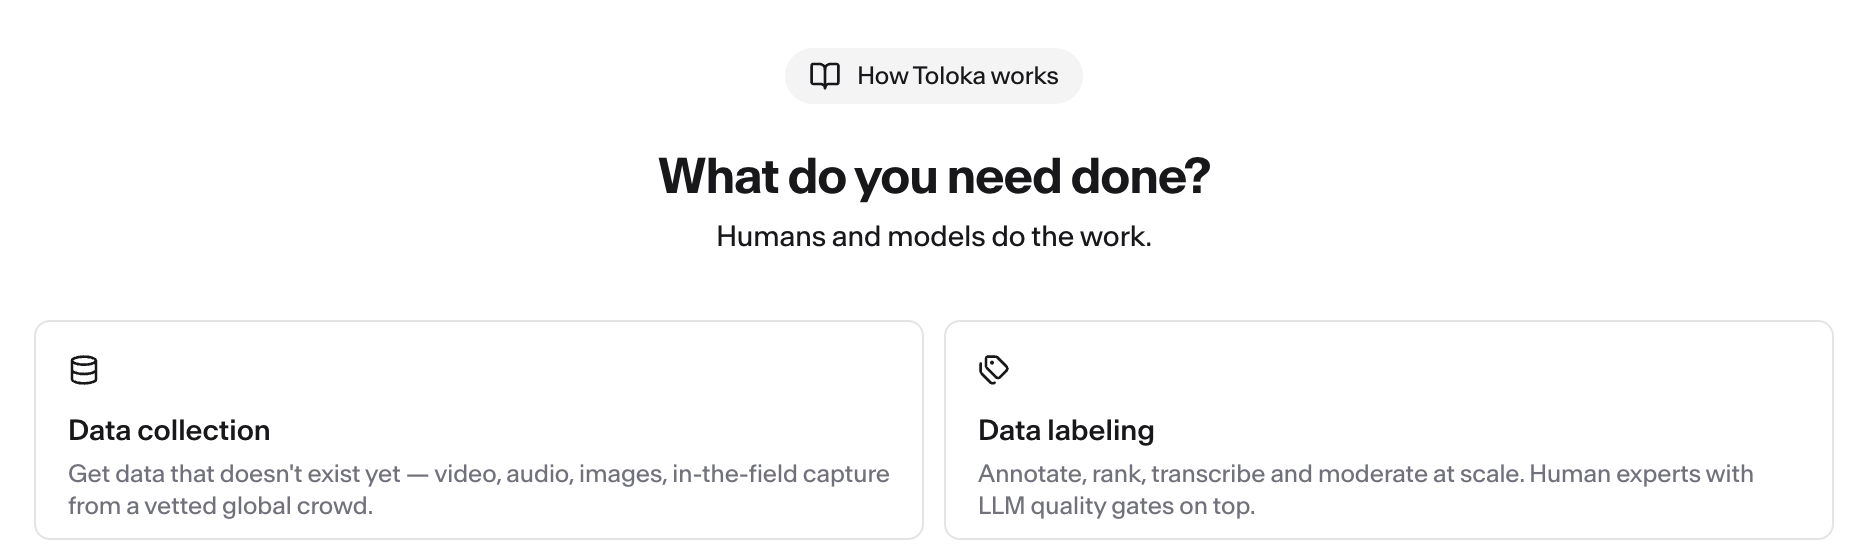
Step 2 — Describe what you need
Write what you want in the description field. For a collection job, cover the artifacts you want recorded or sourced, the volume, the format, who may take part, your quality requirements, and how you want the result delivered. For a labeling job, cover your existing data, the label schema, the edge cases, your quality requirements, and the output you need. You can attach files — a dataset, a spec, examples of good and bad answers.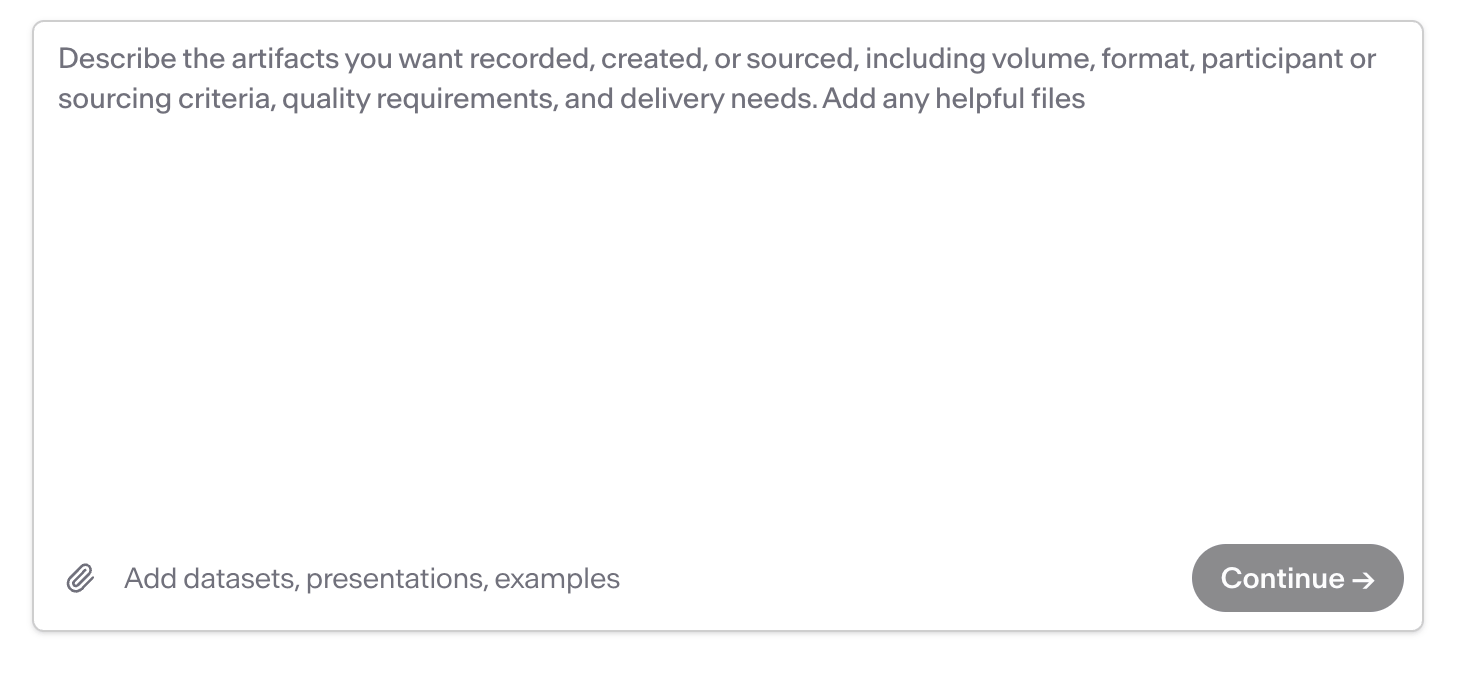
Step 3 — Wait for the plan
The agent drafts a plan and shows a Plan card with a step count. When the draft finishes, open the card and review the proposed dataset, fields, and pipeline before clicking Approve.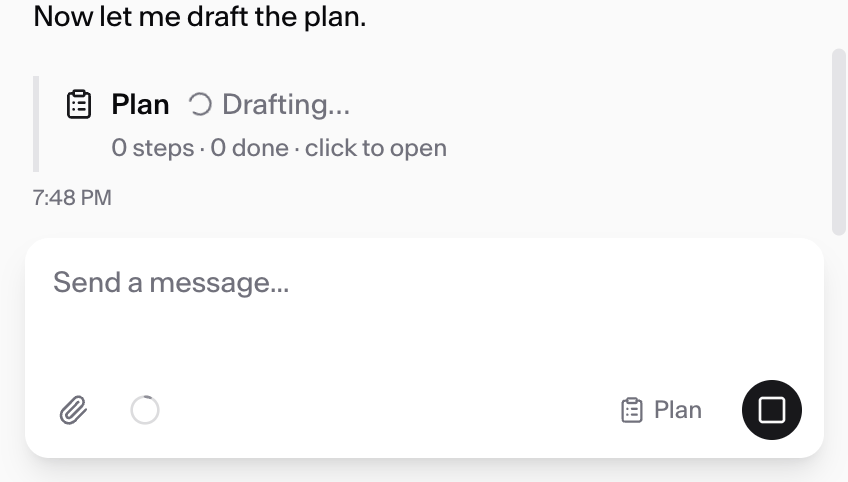
Step 4 — Review and approve the plan
The plan spells out the pipeline it intends to build, the dataset it expects, and the fields on each. Read it against your job — this is the point where a misunderstanding is cheap to fix. To change something, select the text you disagree with, leave a note, and click Send comments. The agent revises and comes back. When the plan is right, click Approve — either here in the panel or on the Plan card in the chat; both do the same thing. Approve is offered only on the plan the assistant drafted last. Open an earlier plan from further up the chat and you can read it, but not approve it.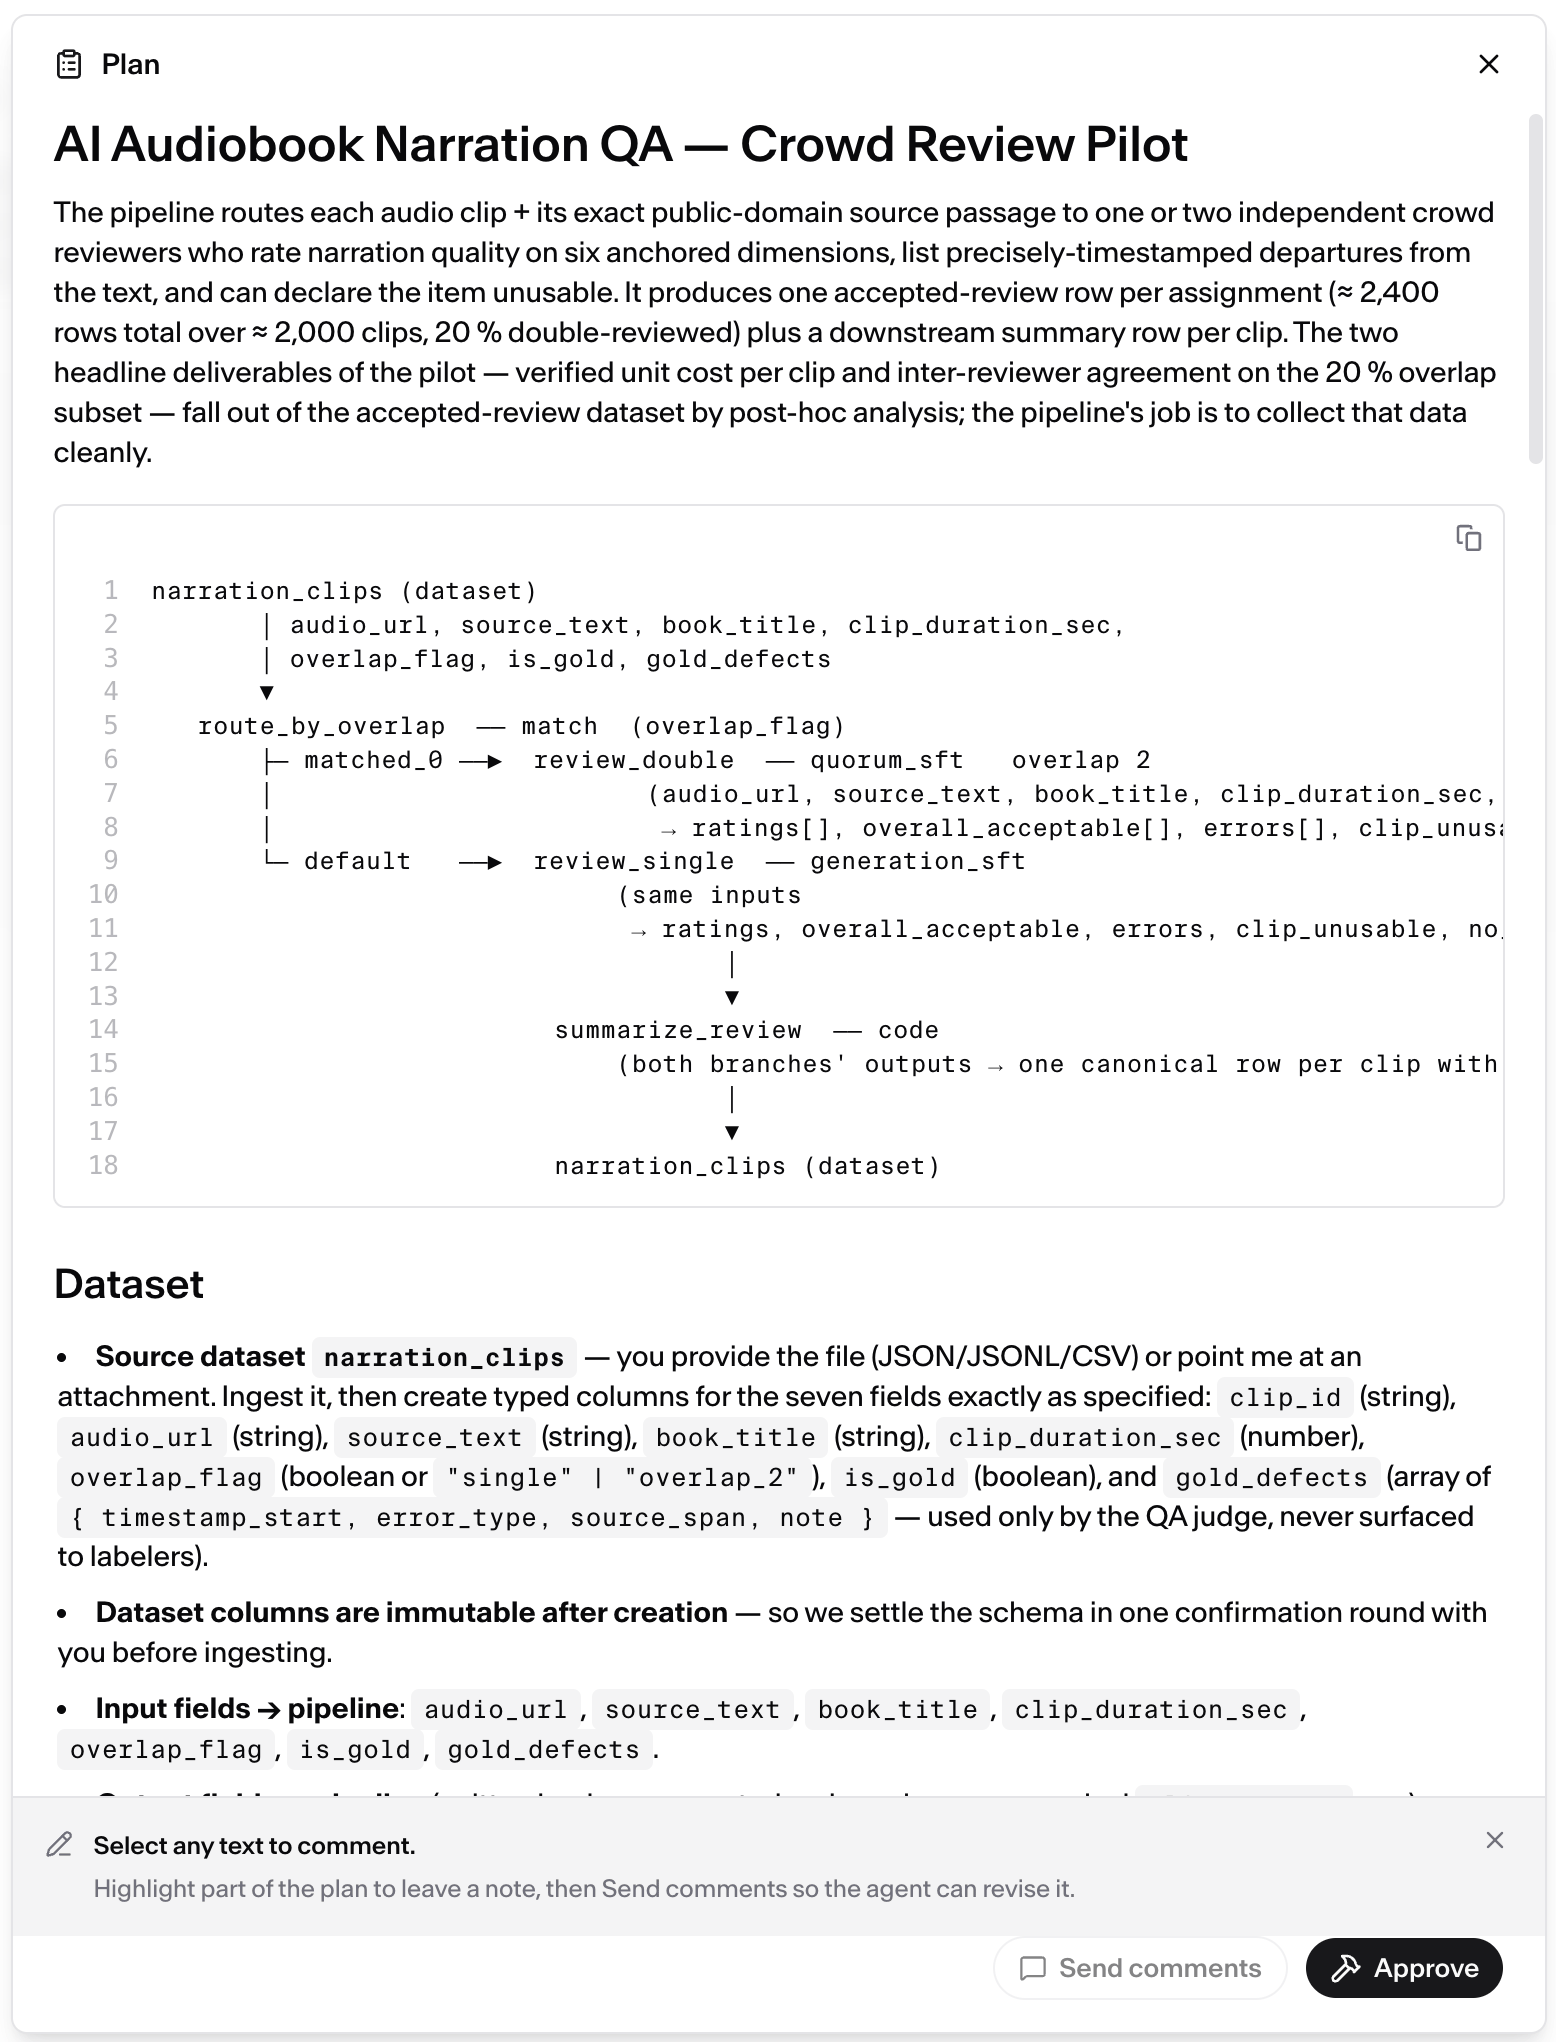
Nothing is built until you approve.
Step 5 — Answer questions during the build
Once approved, the agent starts building. Where your description left something open, it stops and asks rather than guessing. Questions come with suggested answers and a free-text option, and the plan progress line below shows how far along it is.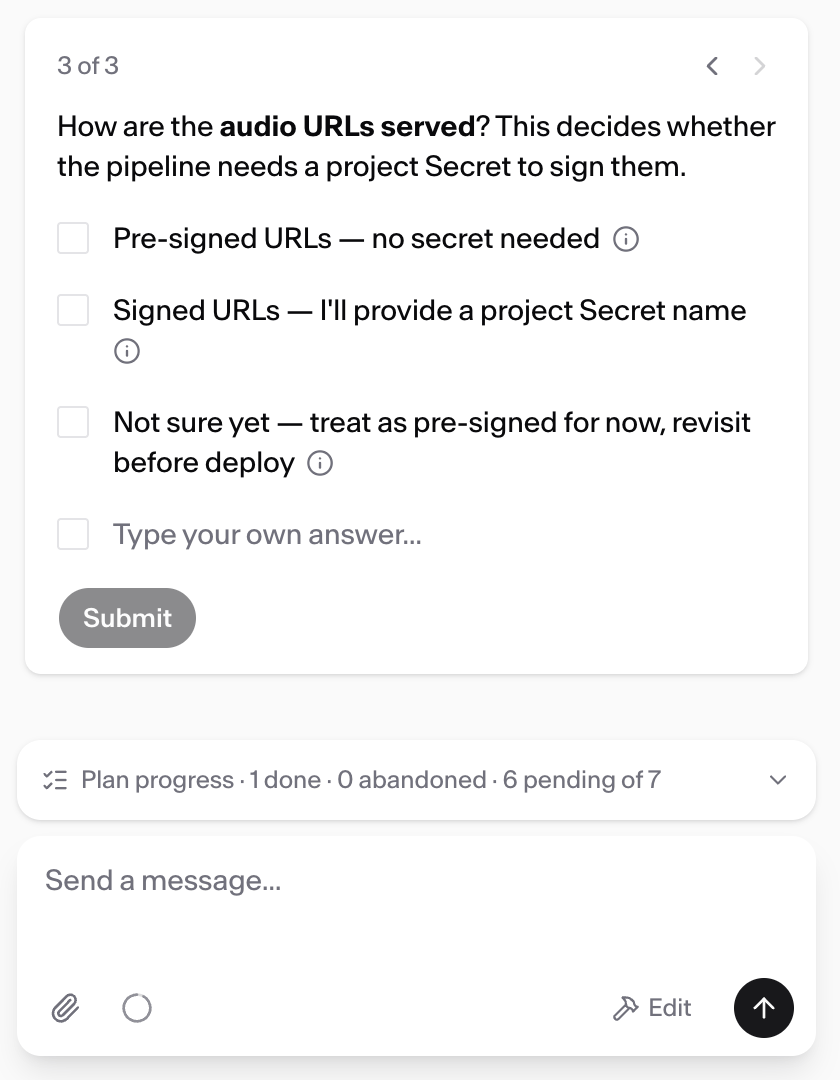
Step 6 — Watch the project take shape
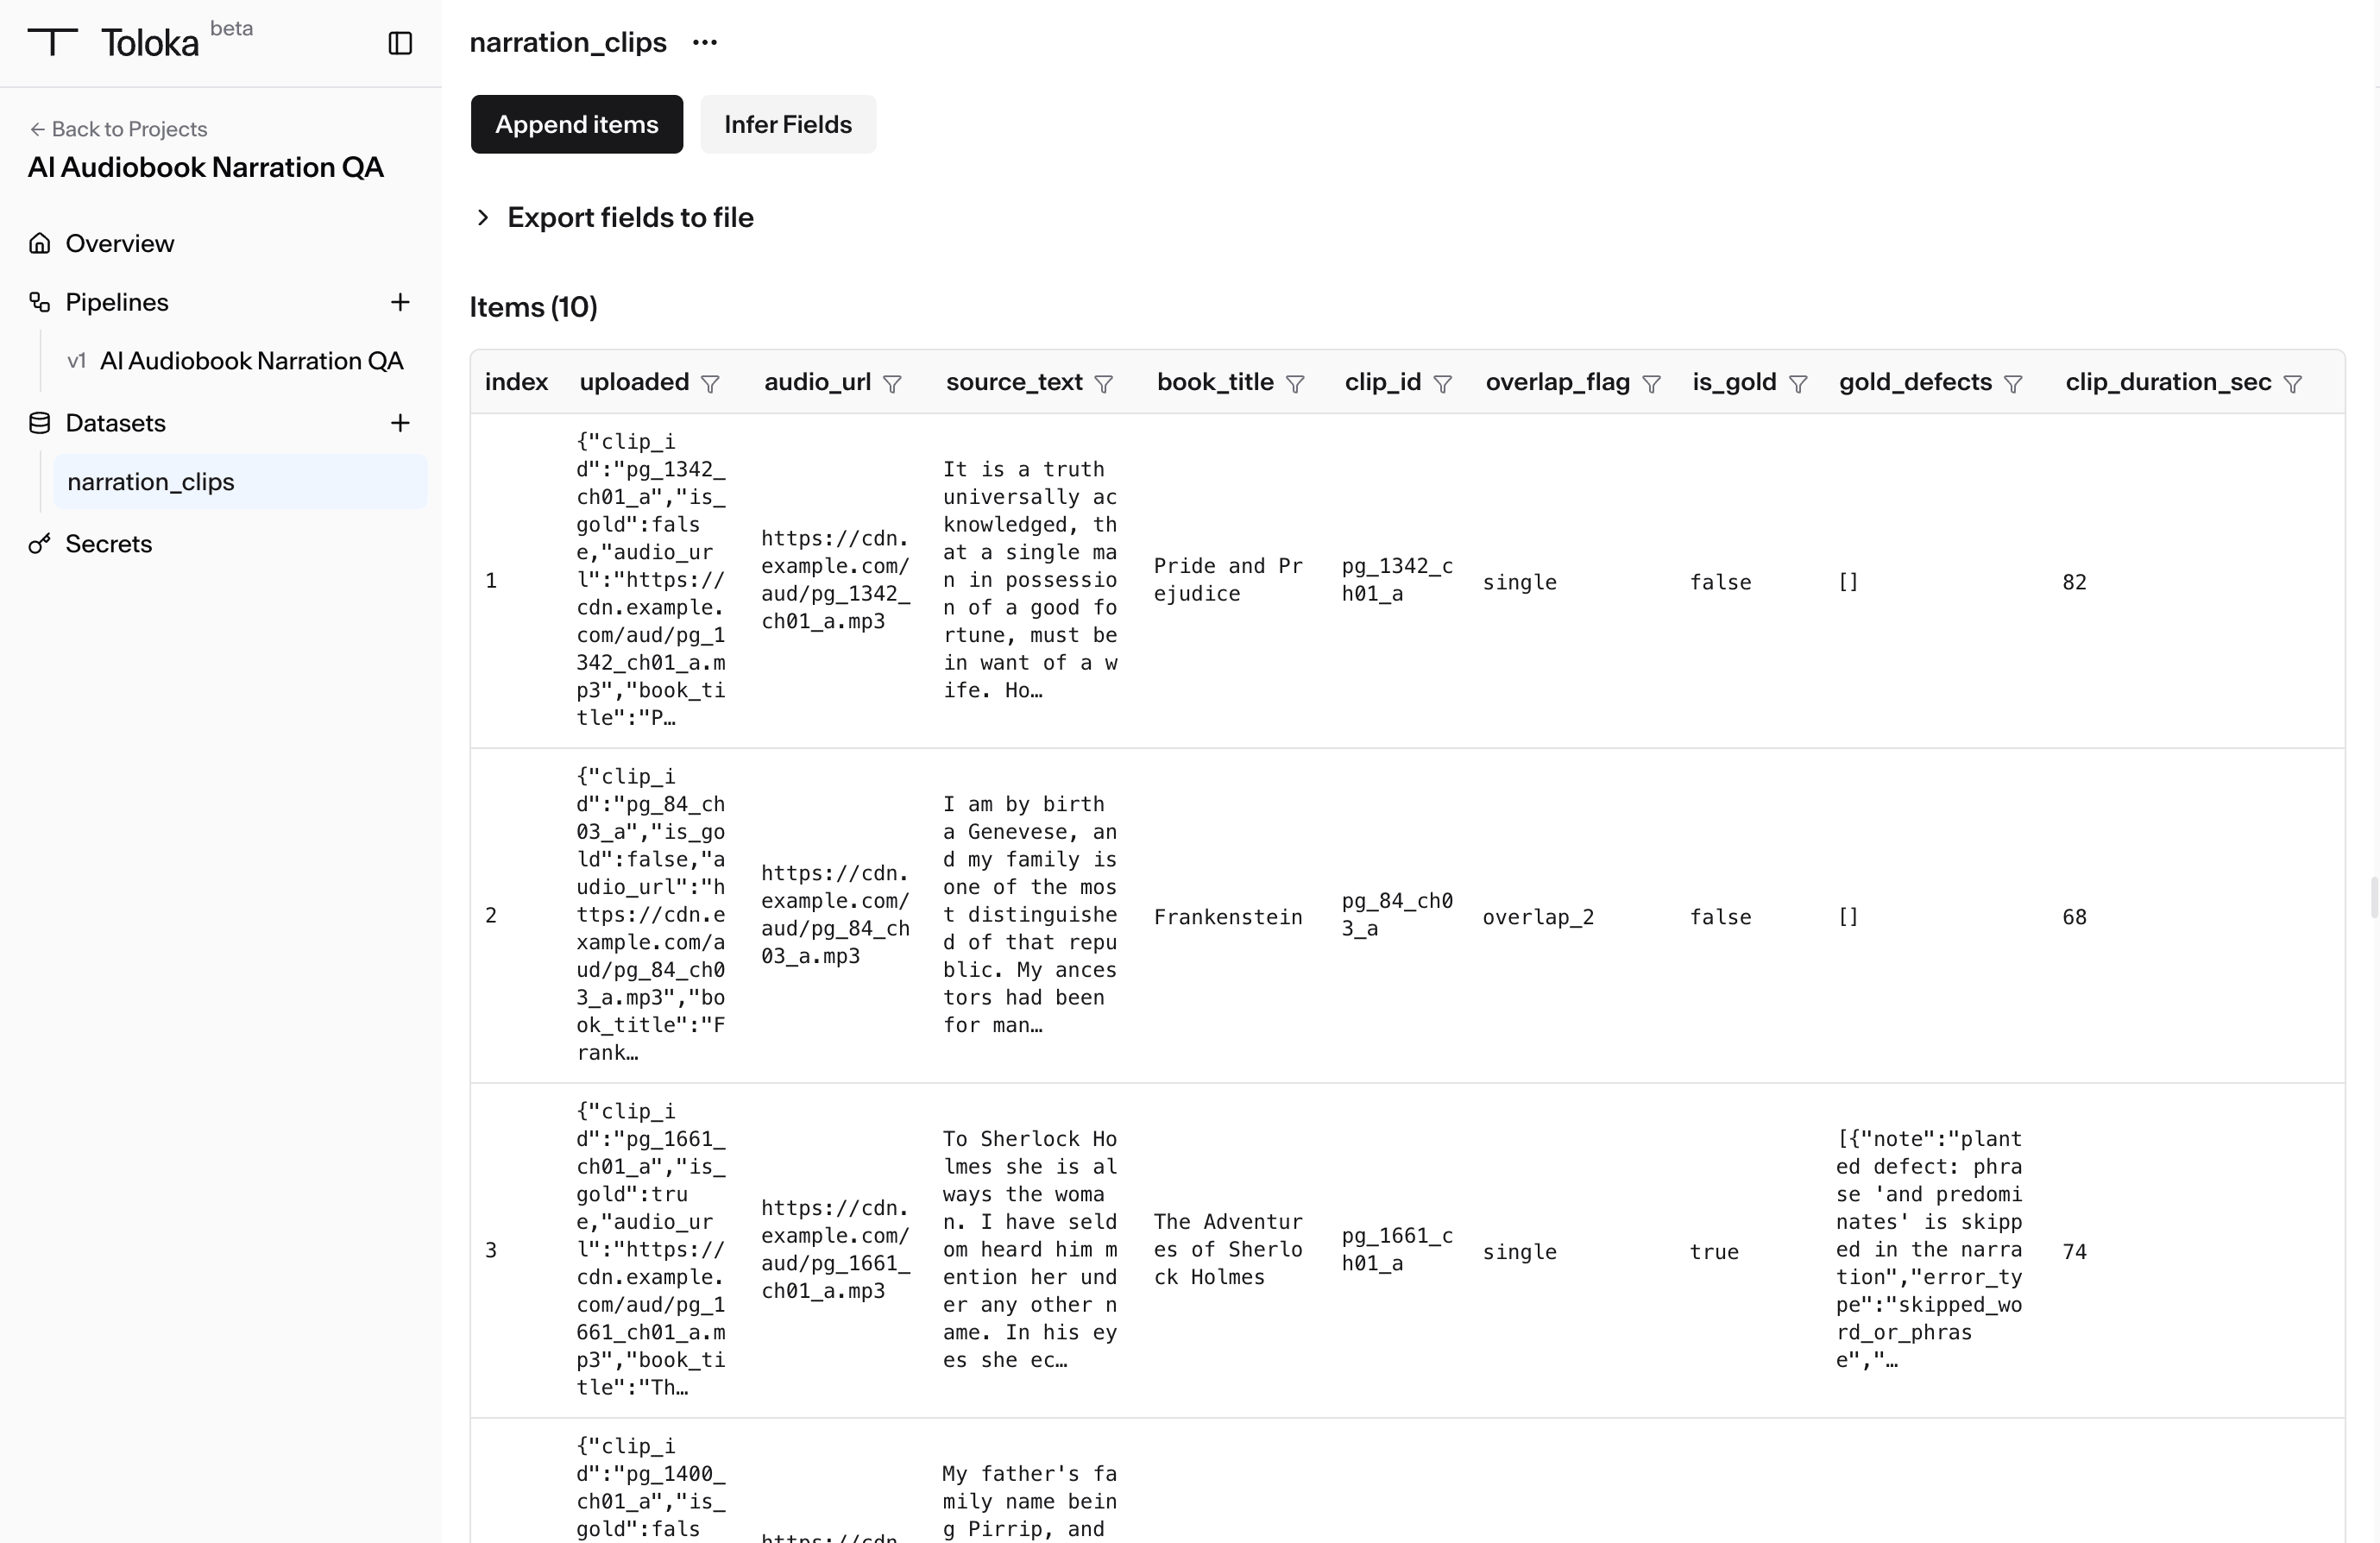
Within a couple of minutes, parts of the project start appearing. You do not have to wait for the agent to finish before looking.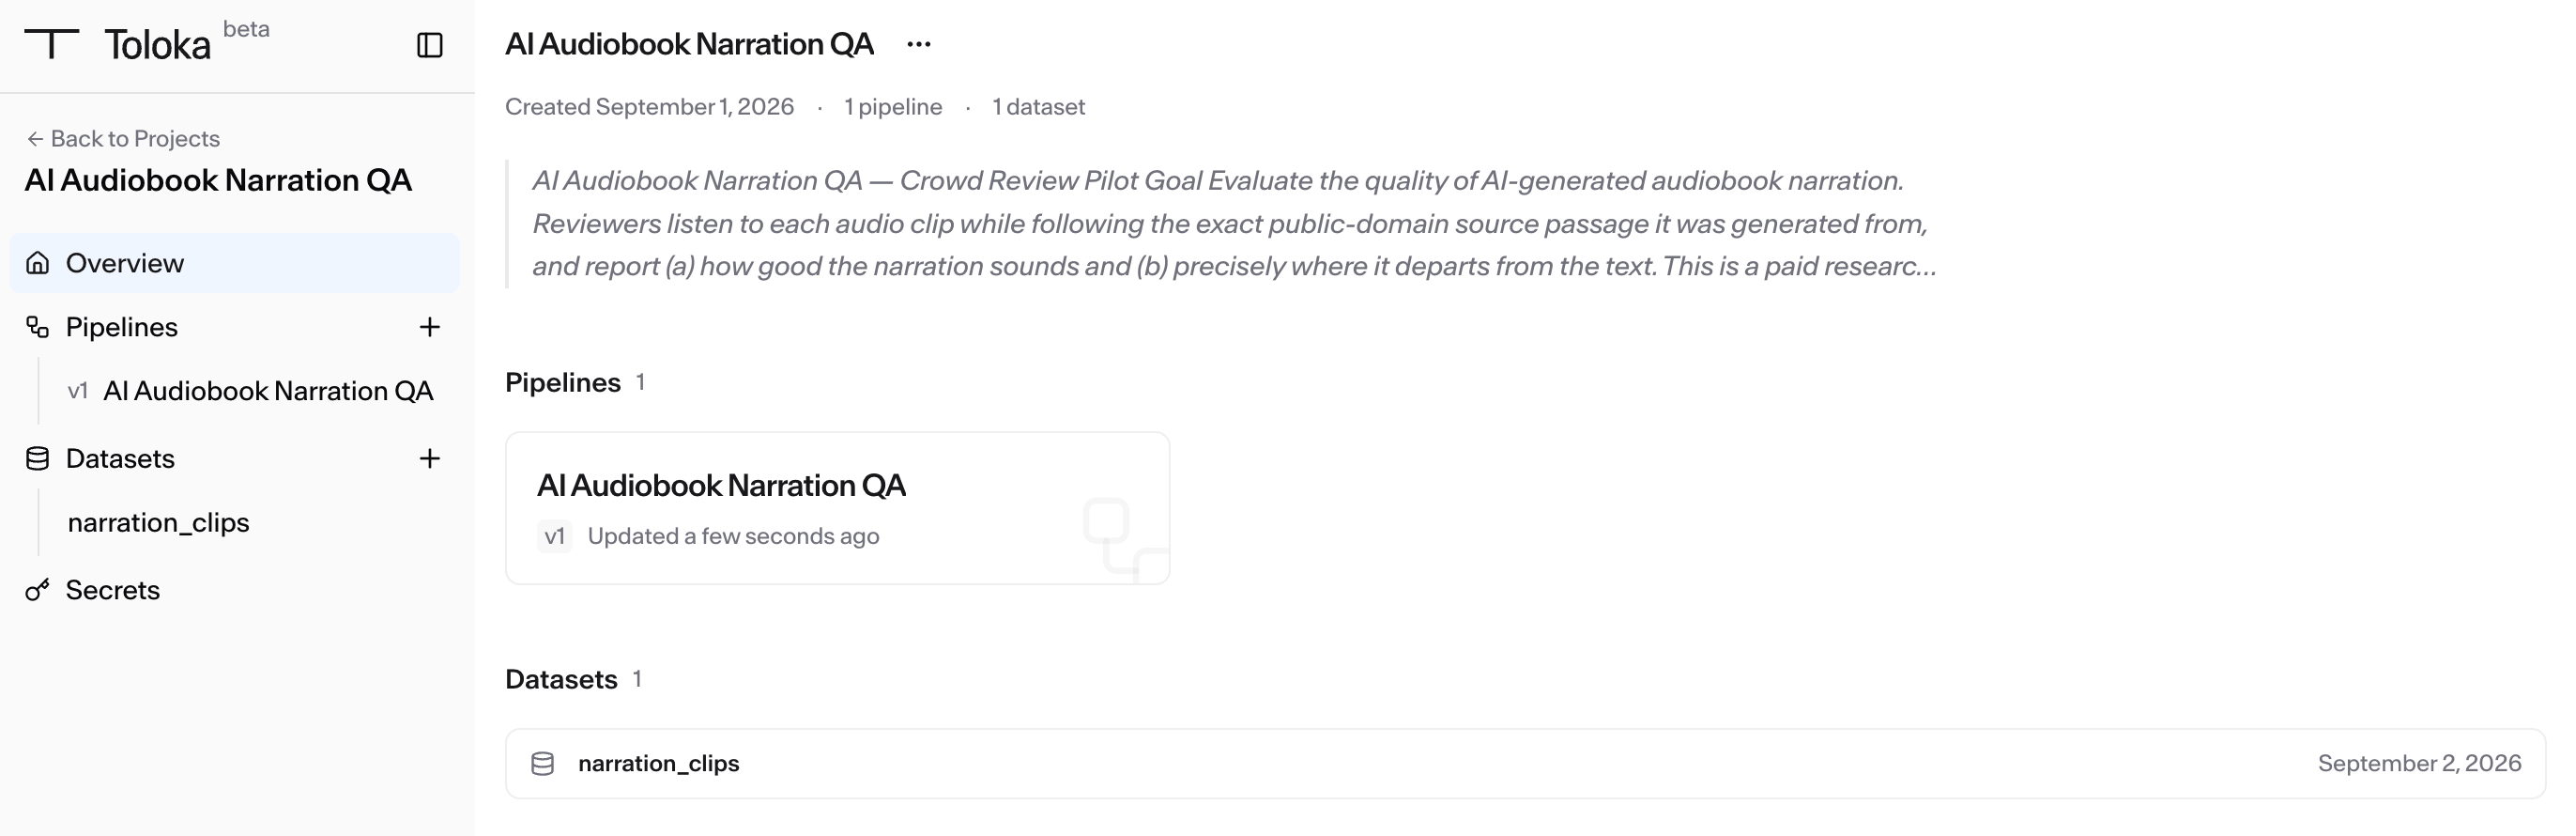
Step 7 — Read the hand-off
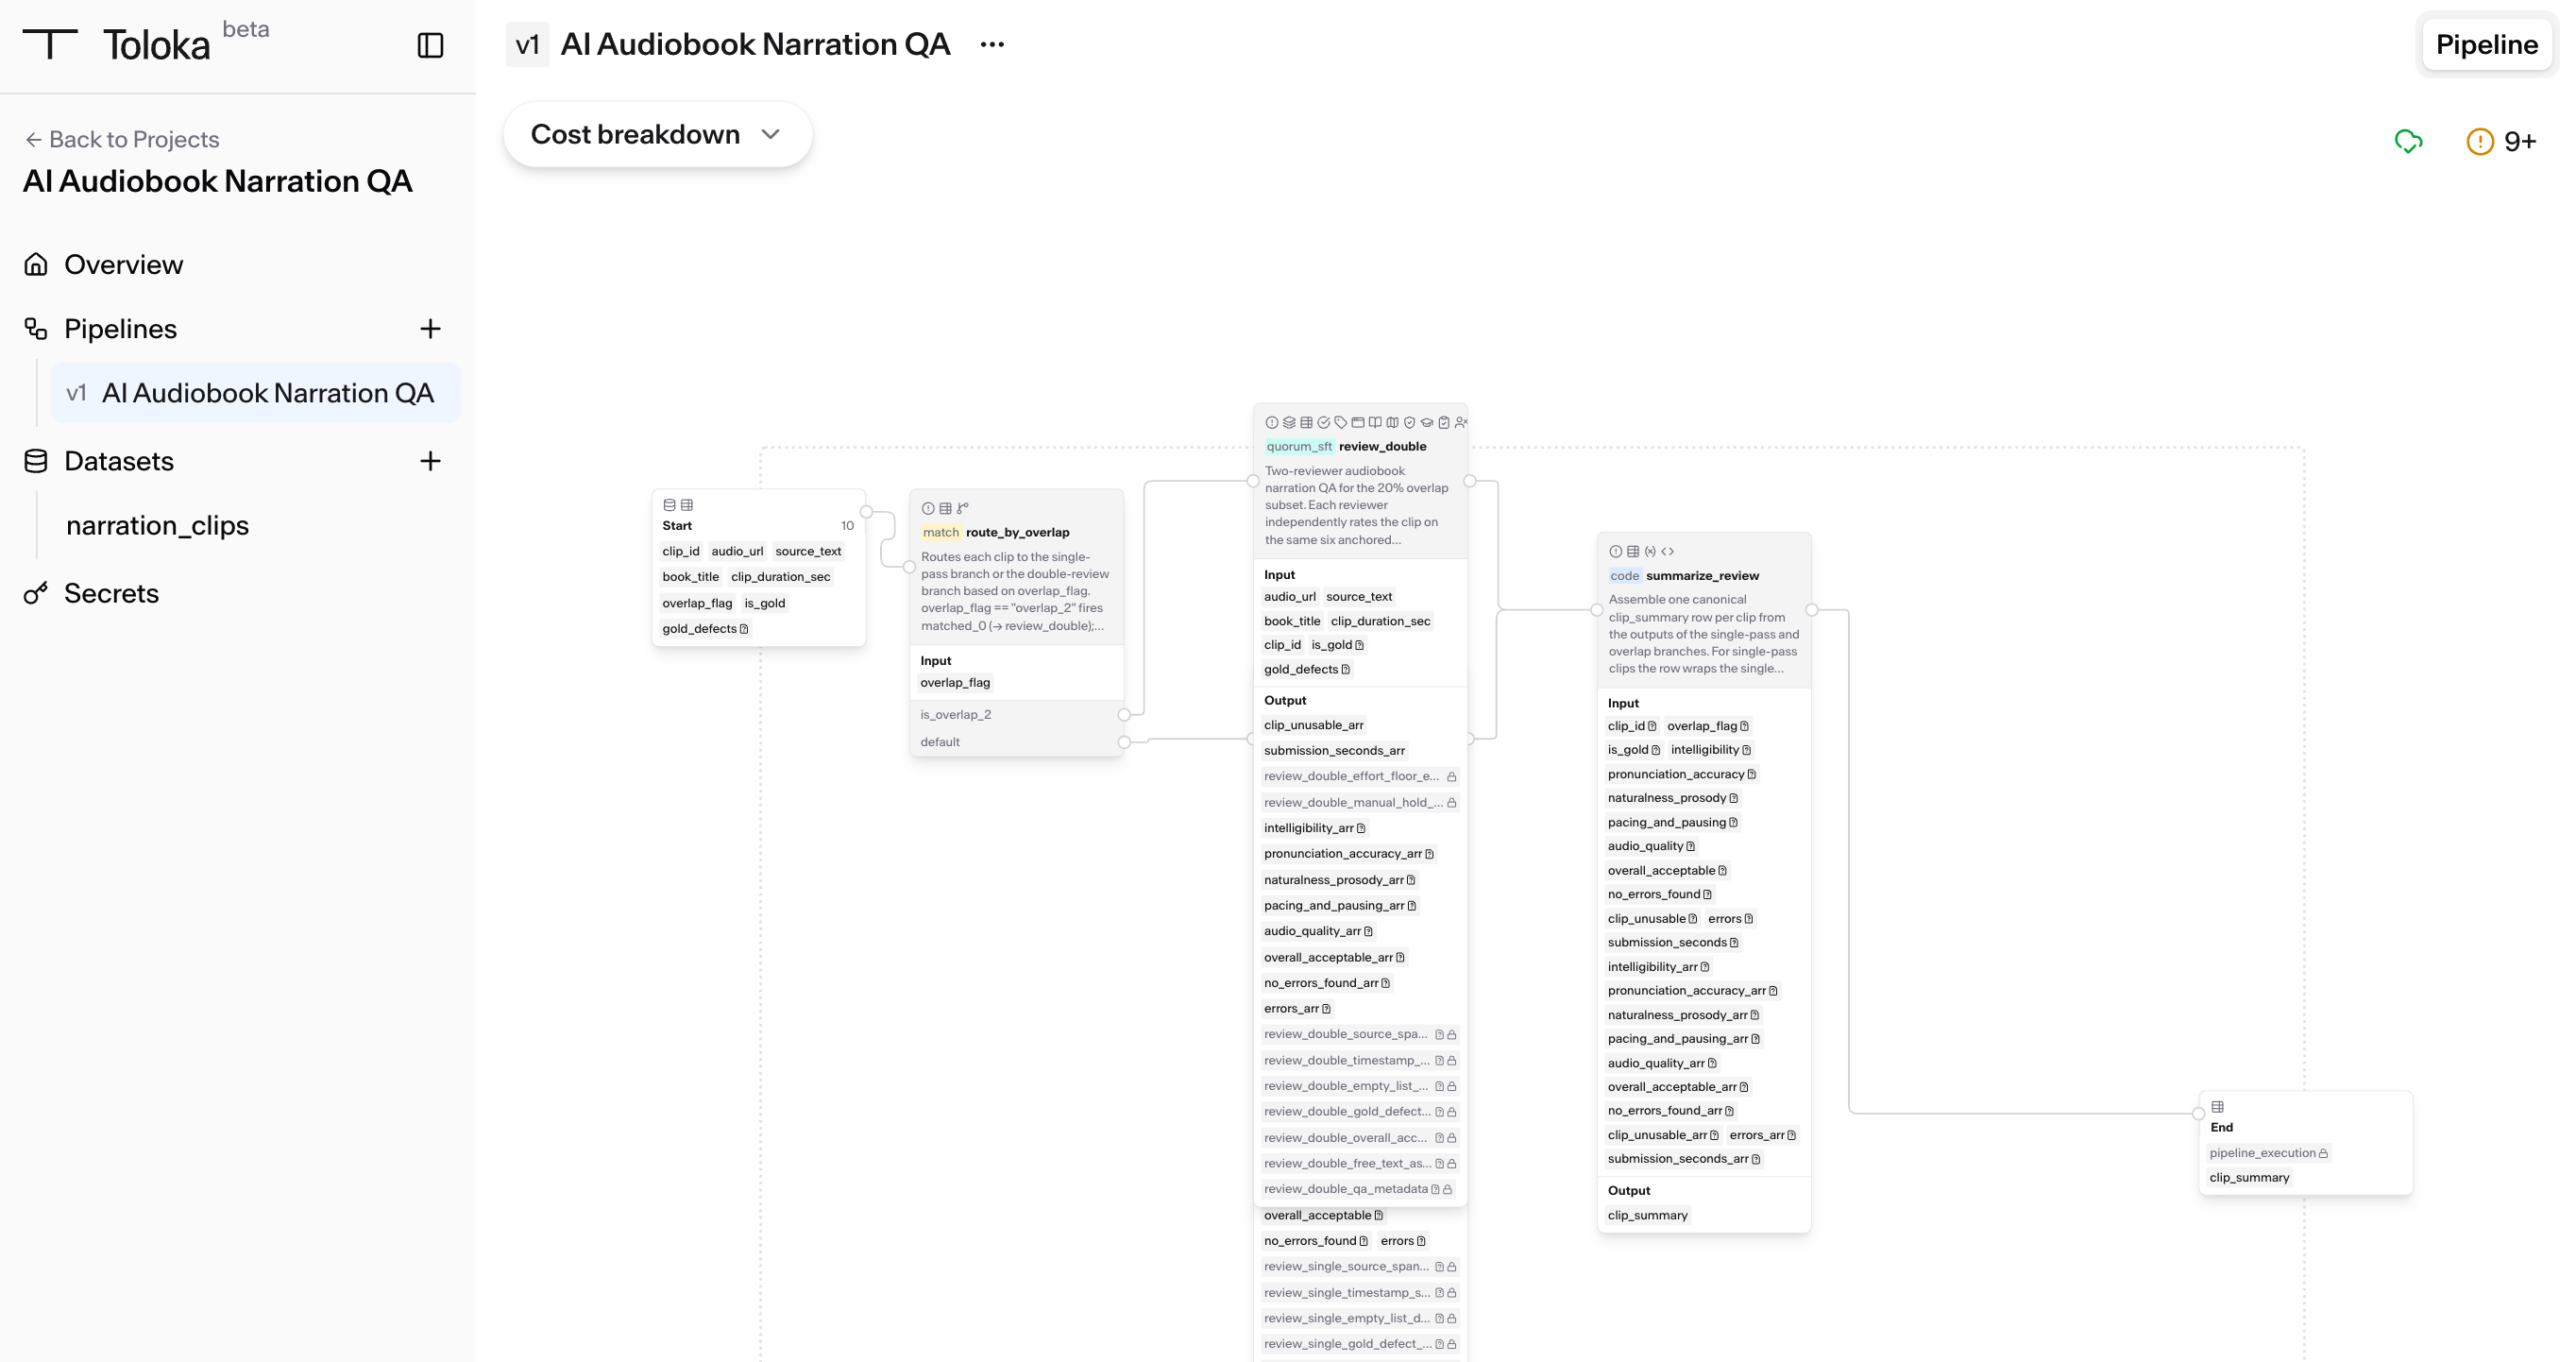
When the agent finishes, review its summary of the dataset, pipeline, and remaining checks. Ask for changes before deploying. For a small pilot, set Max items to launch on Start. After that run, clone the pipeline before changing its item filter or limit; see Label a large dataset in batches.Step 8 — Review each node
Before launching, open every node and check it: pricing, audience, the labeling interface, the guidelines. The agent’s choices are a draft you own, and after launch the configuration is fixed.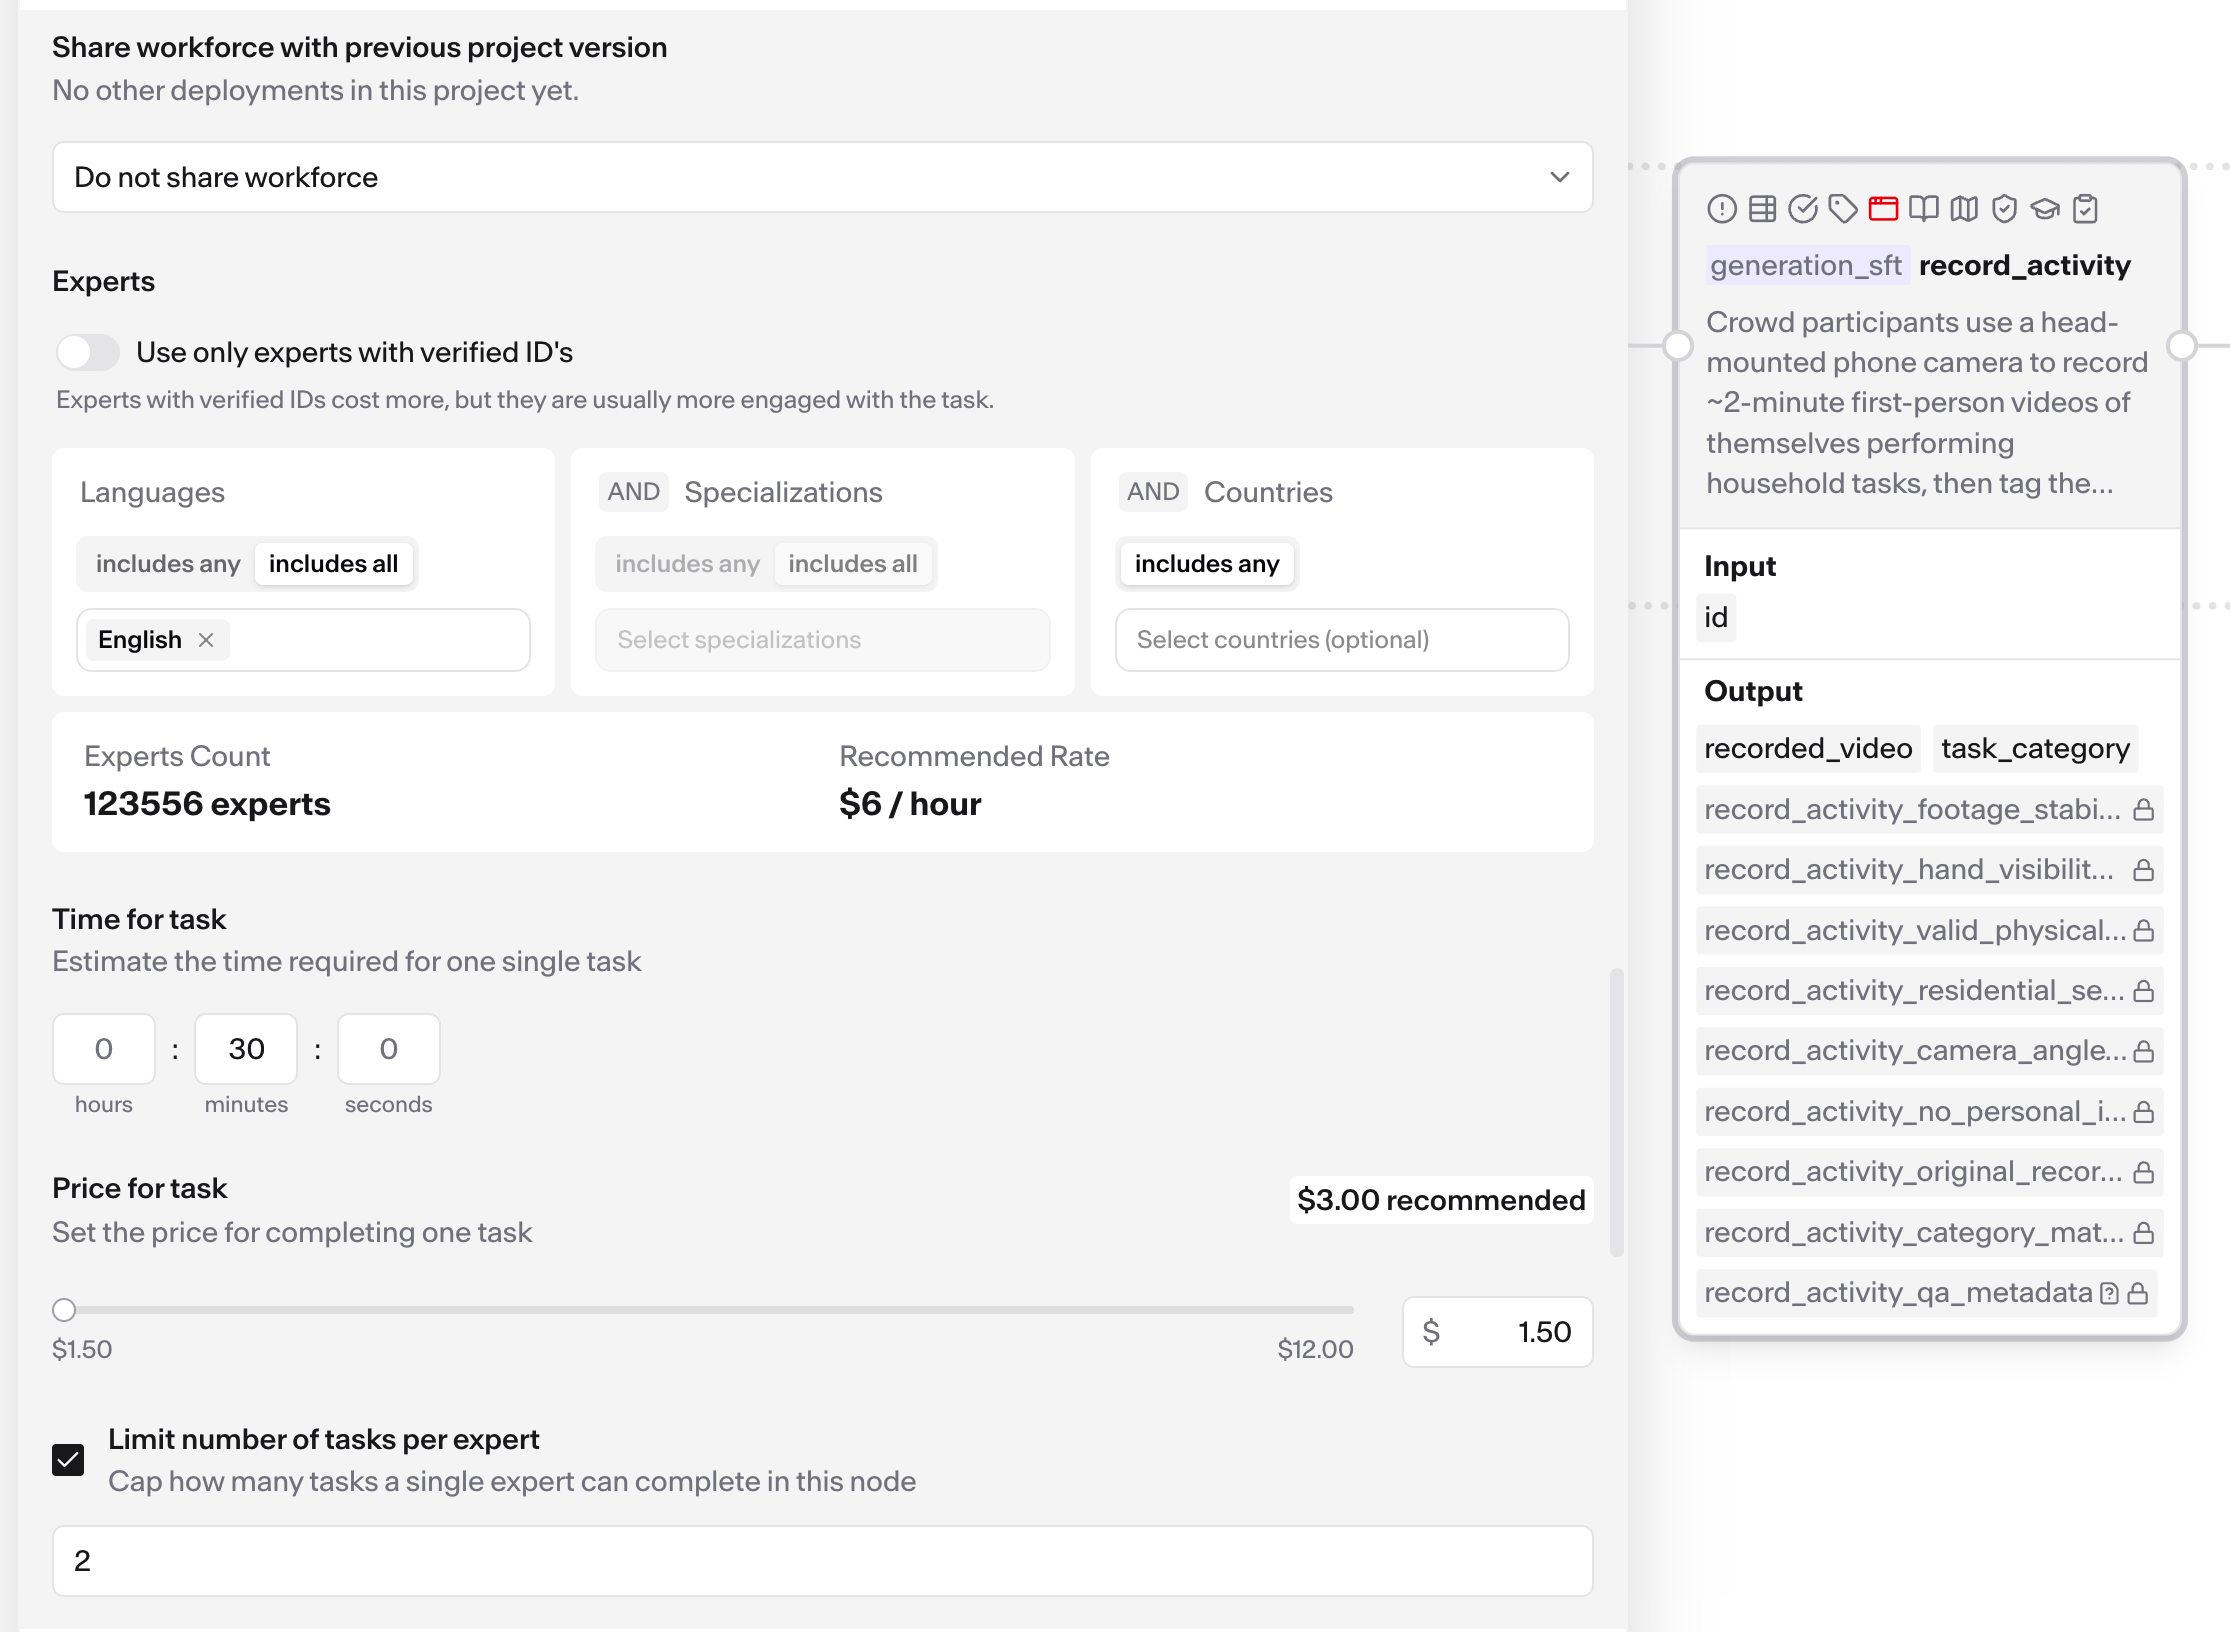
Step 9 — Deploy
Click Deploy.
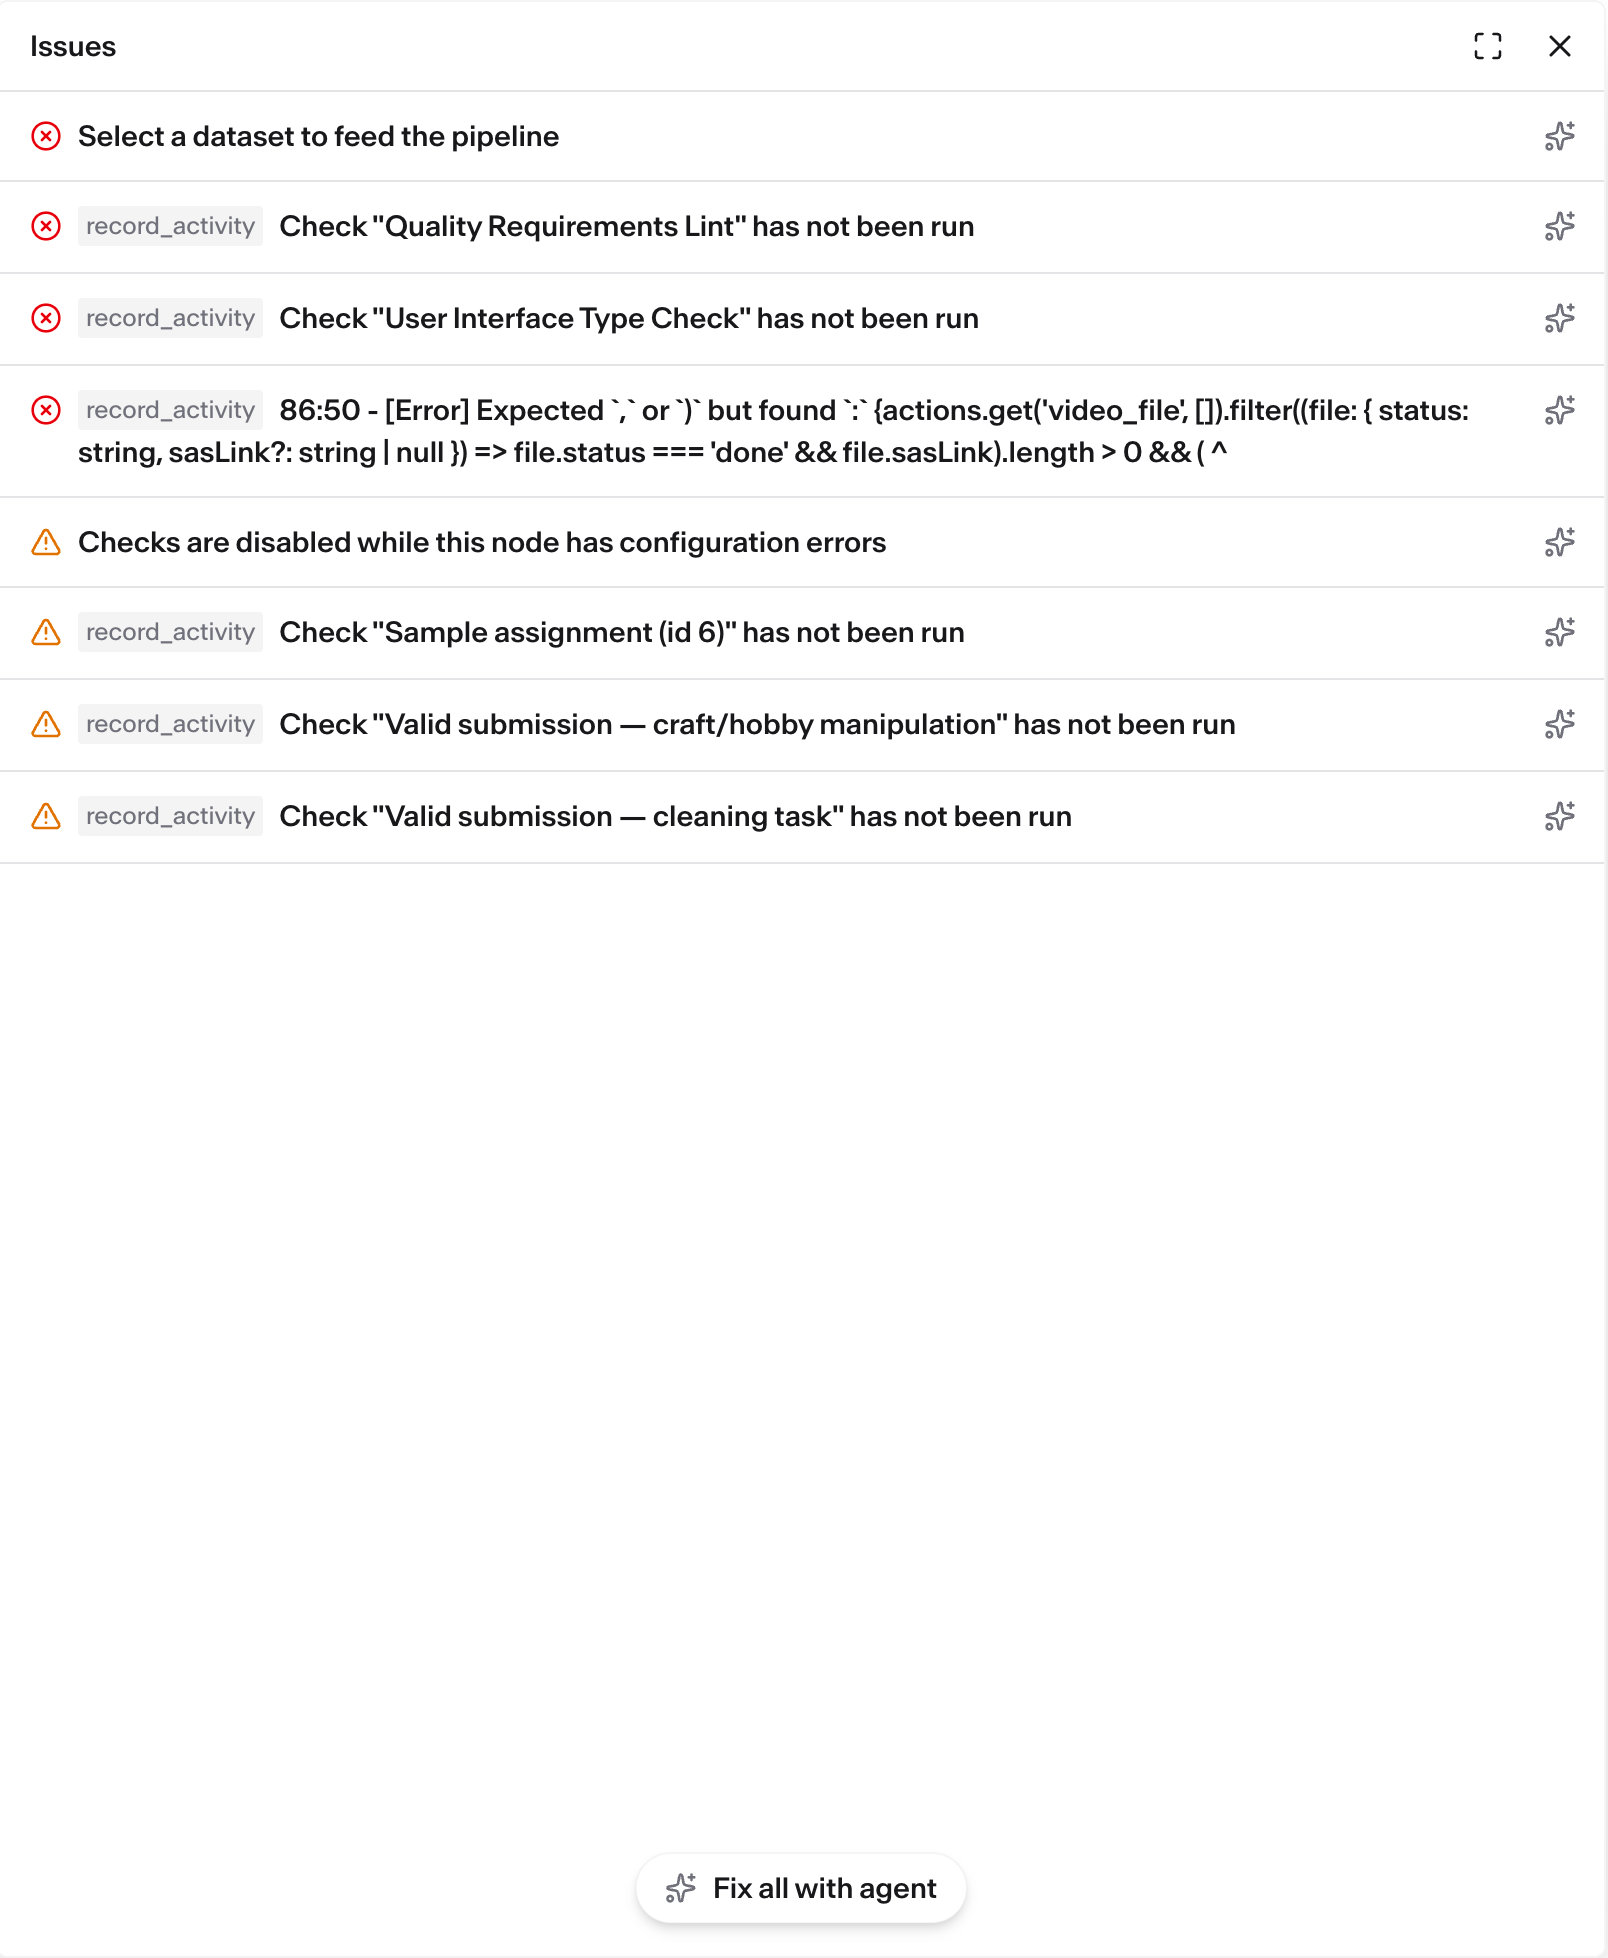
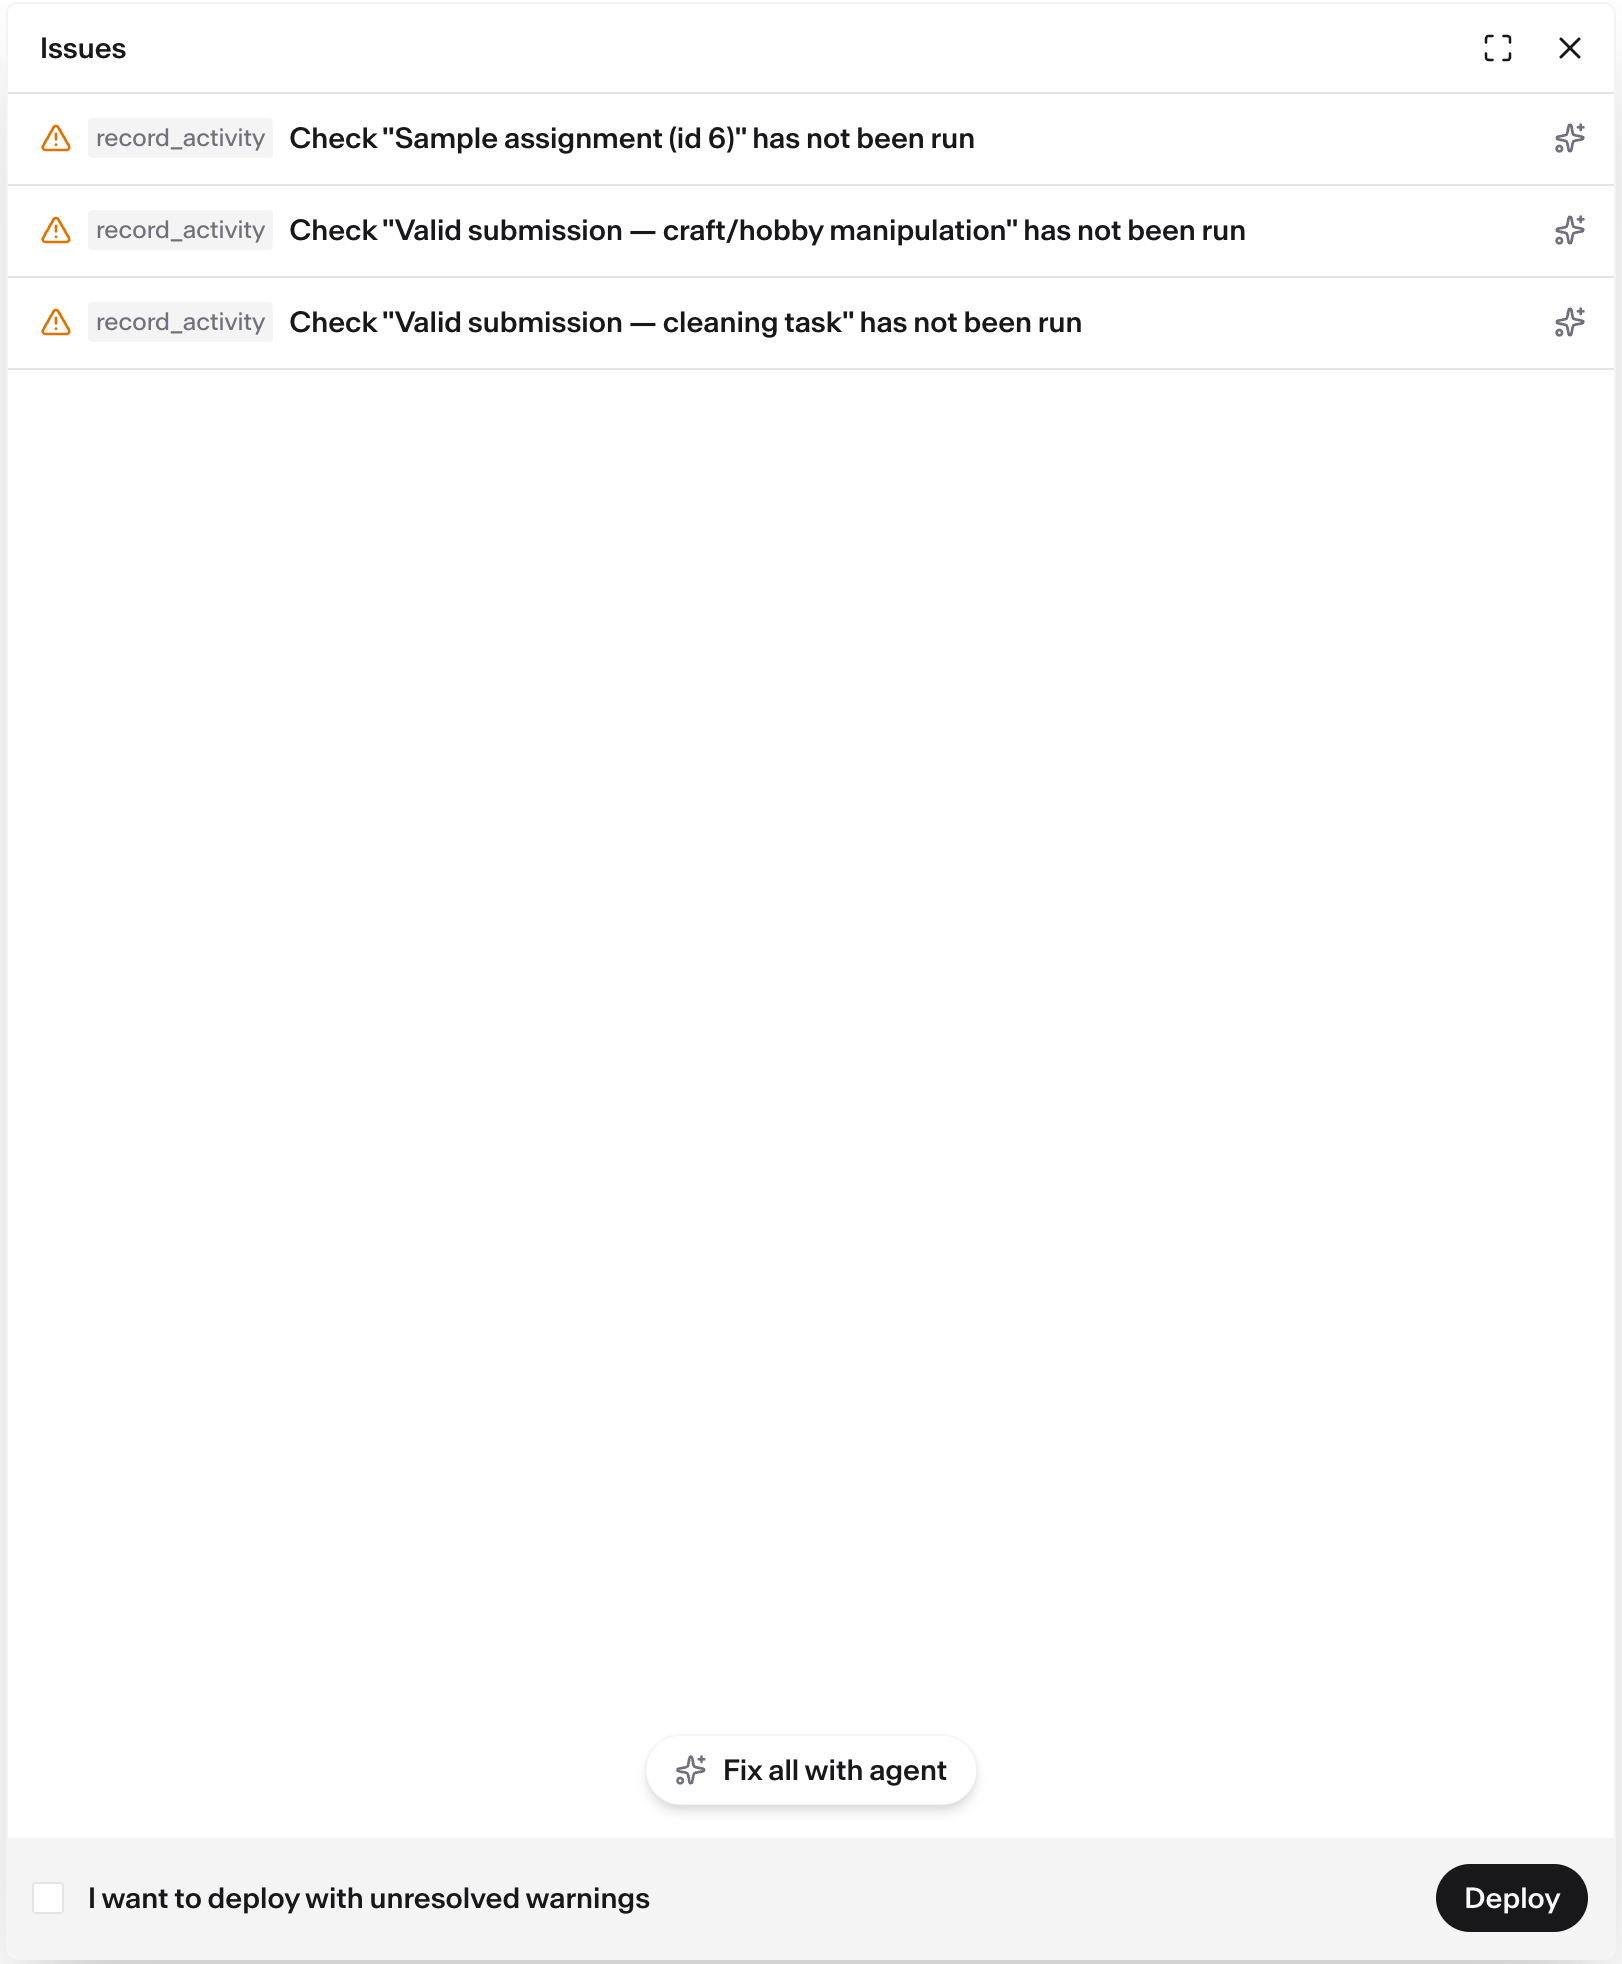
Step 10 — Confirm the cost
The cost breakdown opens with an expected and a maximum total. Too high, and you can cancel, go back to Step 8, and lower the price per task or the item count.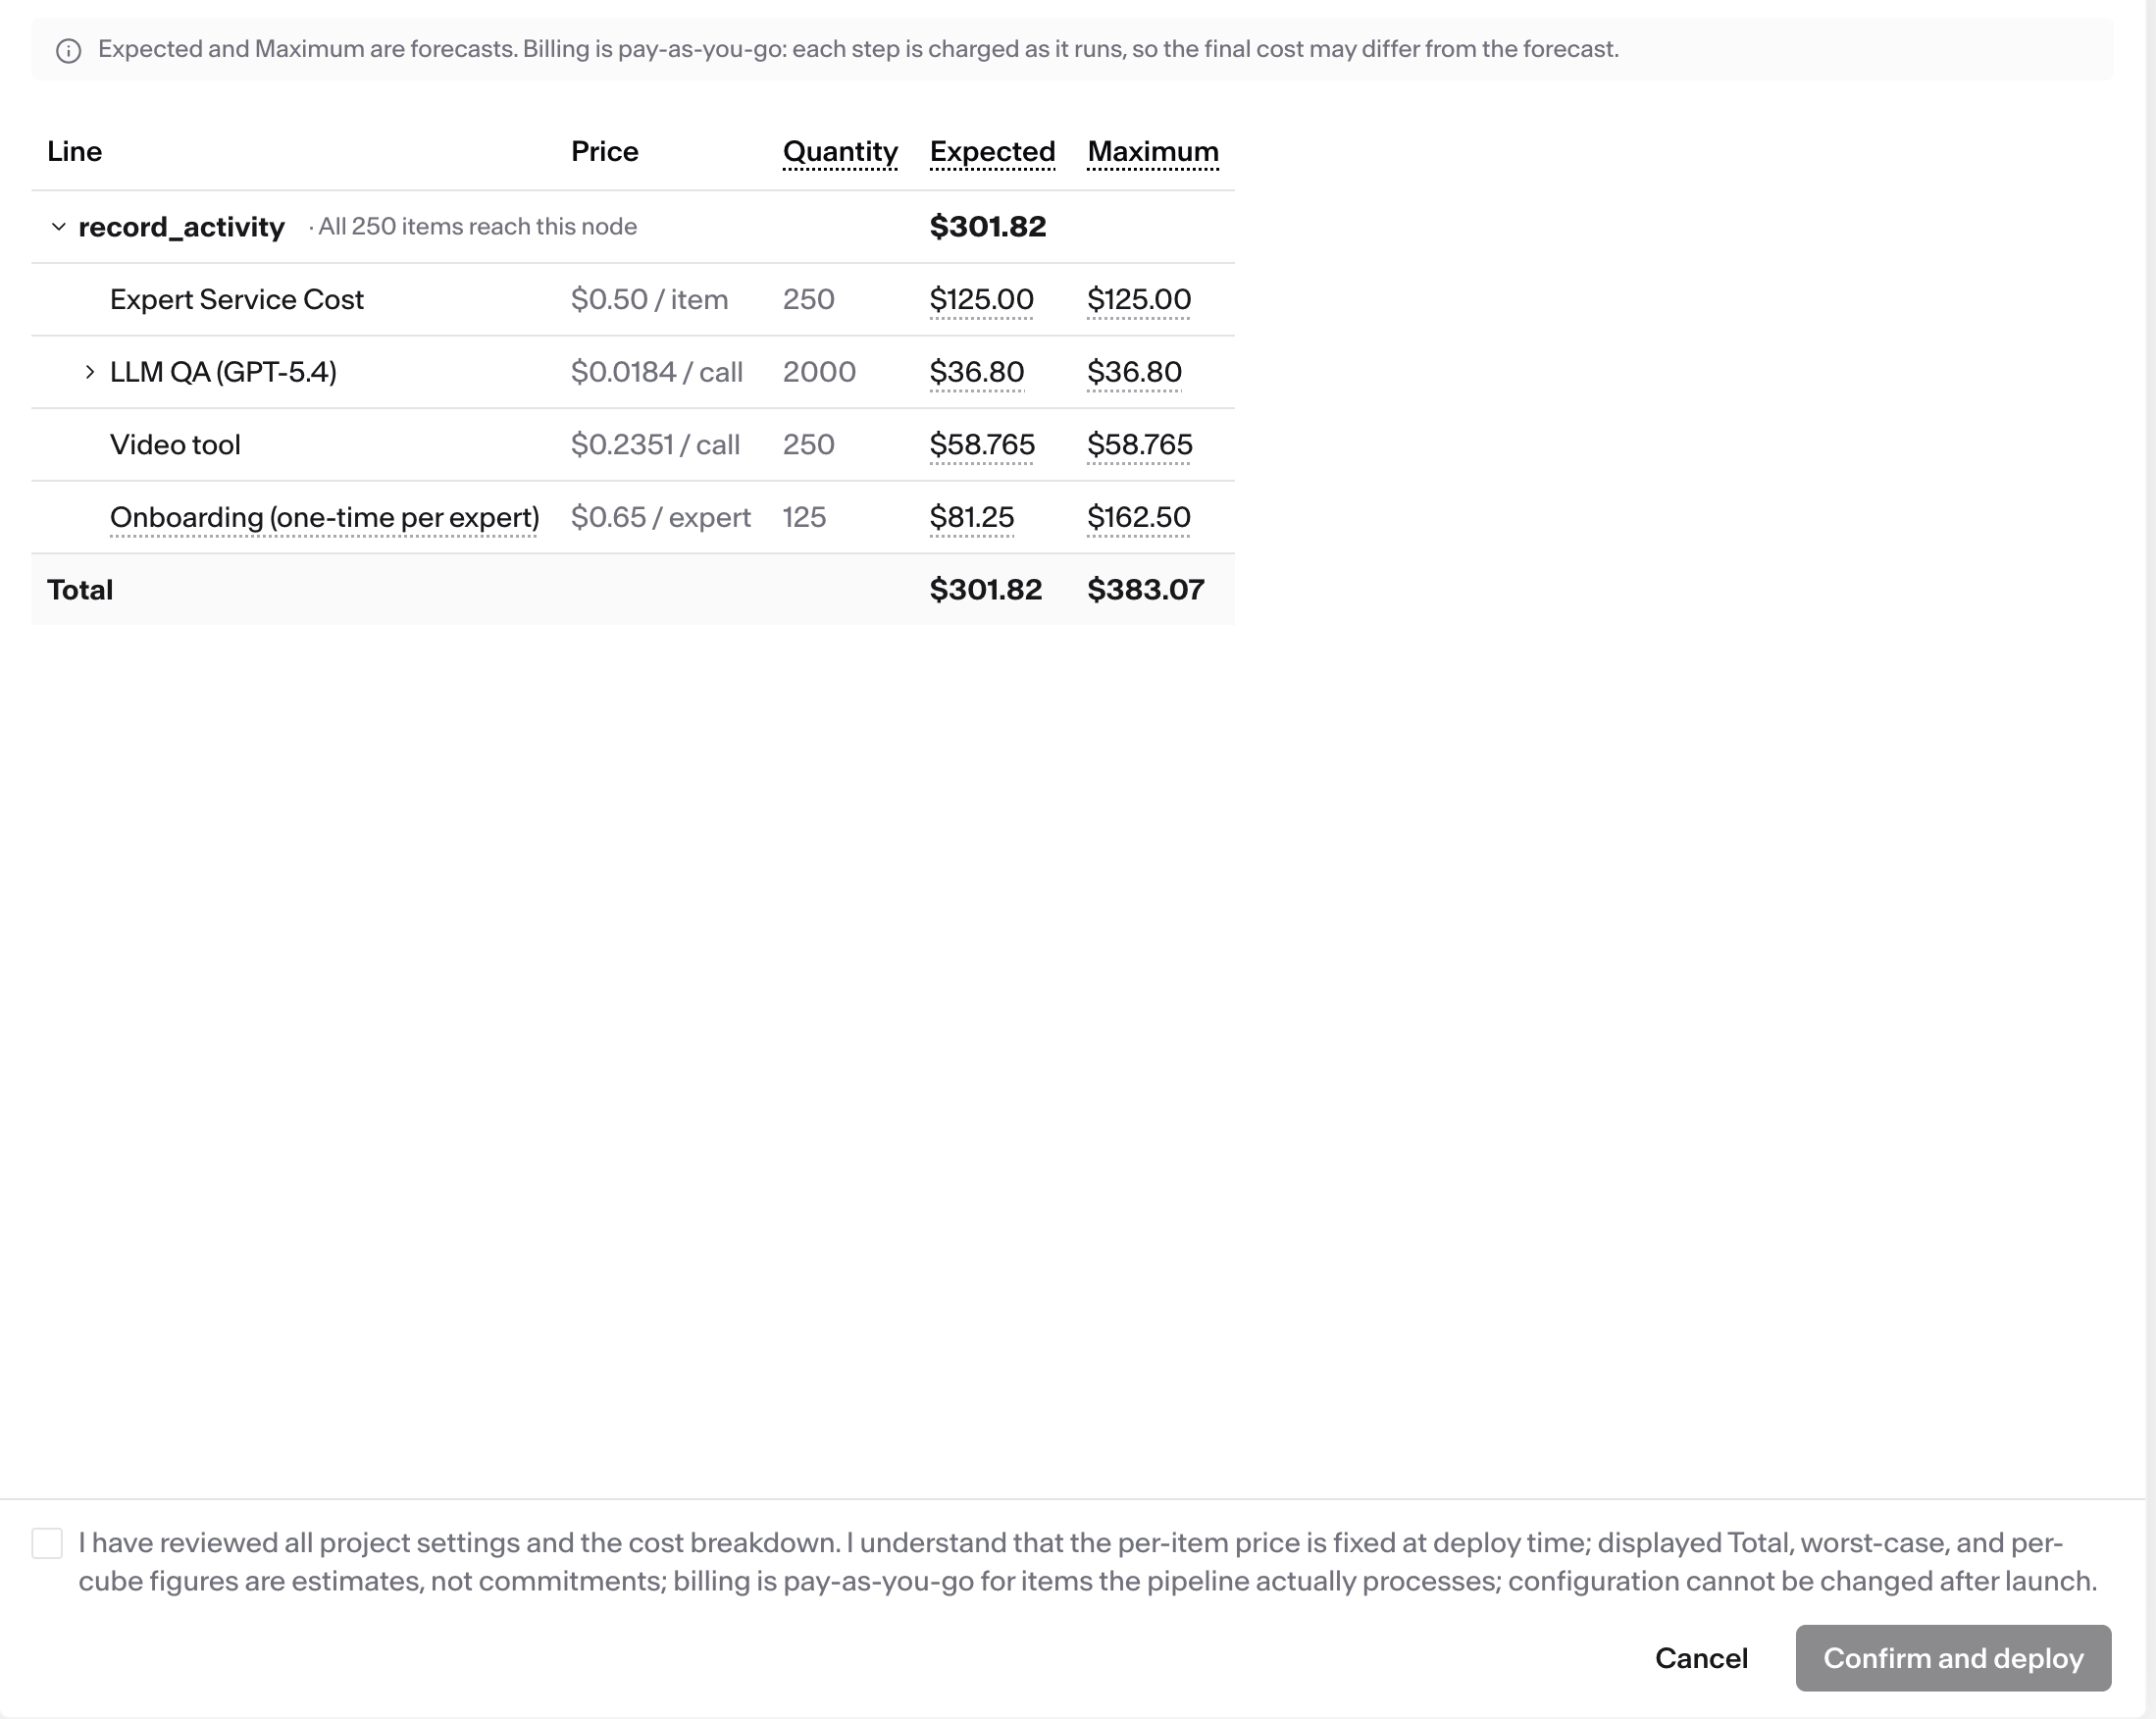
Step 11 — Wait for the launch
Launching Pipeline tracks the deploy step by step. It usually takes 5–15 minutes, and you can close the window and come back.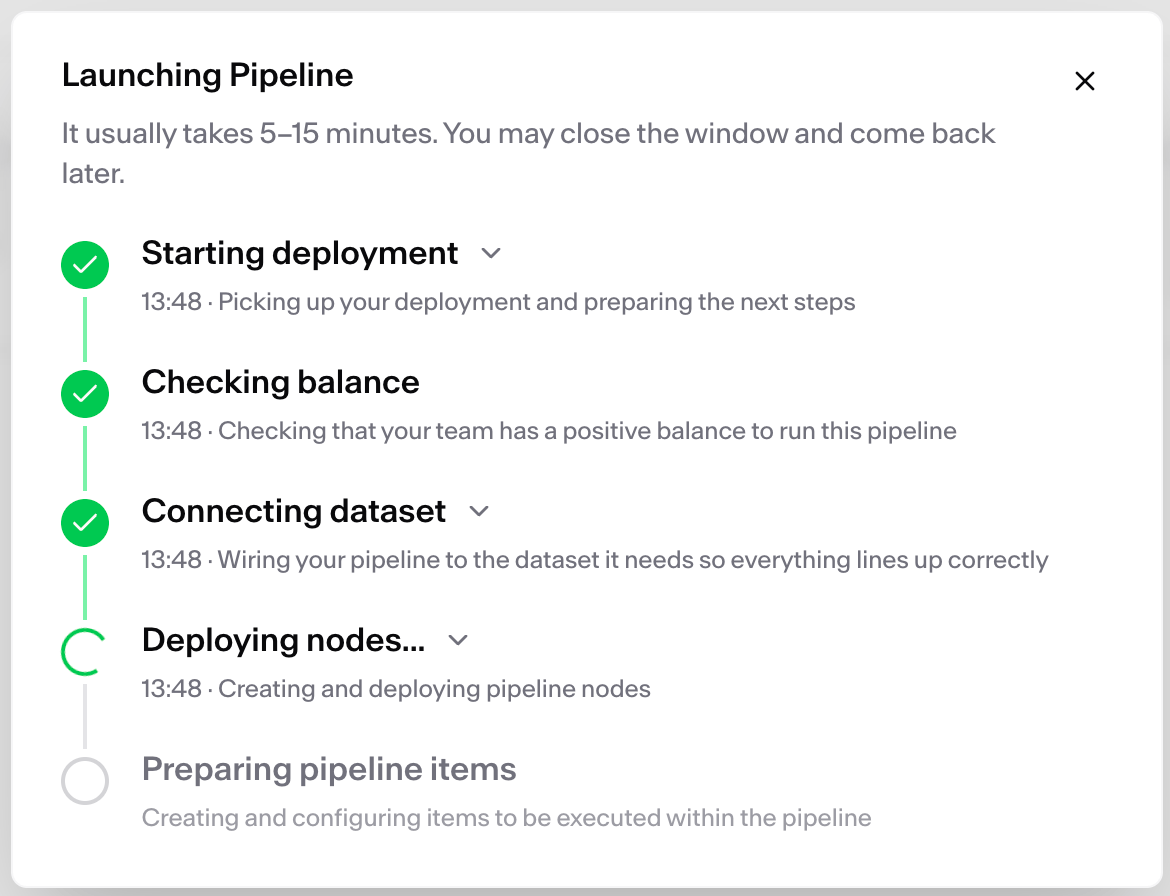
What’s next
- Export your labeled results when the run has results.
- Label a large dataset in batches if your data is bigger than one run.
- Troubleshoot a pipeline run if items are not getting done.